kyrios
Thanks for the tip. I managed to do exactly what you mentioned and I actually like the current bootloader setup way more 😀. I did have to workaround the issue with Solus always installing to the first bootloader (as the dropdown is always empty) using the partition flags.
I note it all down below in case anyone wonders how actually to do this, but only attempt this if you really really want it. I created this after the fact, so please read carefully as there may be errors in the partition names or, even worse, I missed a step. Naming the partitions can help with understanding exactly what you need to do.
NB: Always be extremely careful with editing partitions. I backed up everything to a second disk to prevent data loss in case I screwed up. I actually needed it as well as I did screw up halfway the first try and had to wipe the whole disk.
Prepare partitions
- Create two partitions with fat32 type and size 512mb
- Add the msftdata flag to the first (dev/sda1p1) and the boot/esp flags to the second partition (dev/sda1p2).
Name the partitions to keep them apart easier. E.g. BootSolusBudgie for dev/sda1p1.
- Create your two main partitions in ext4 (dev/sda1p3 and dev/sda1p4)
I named these as well, e.g. SolusBudgie for dev/sda1p3.
- (Optional) Create another partition to have a shared /home partition
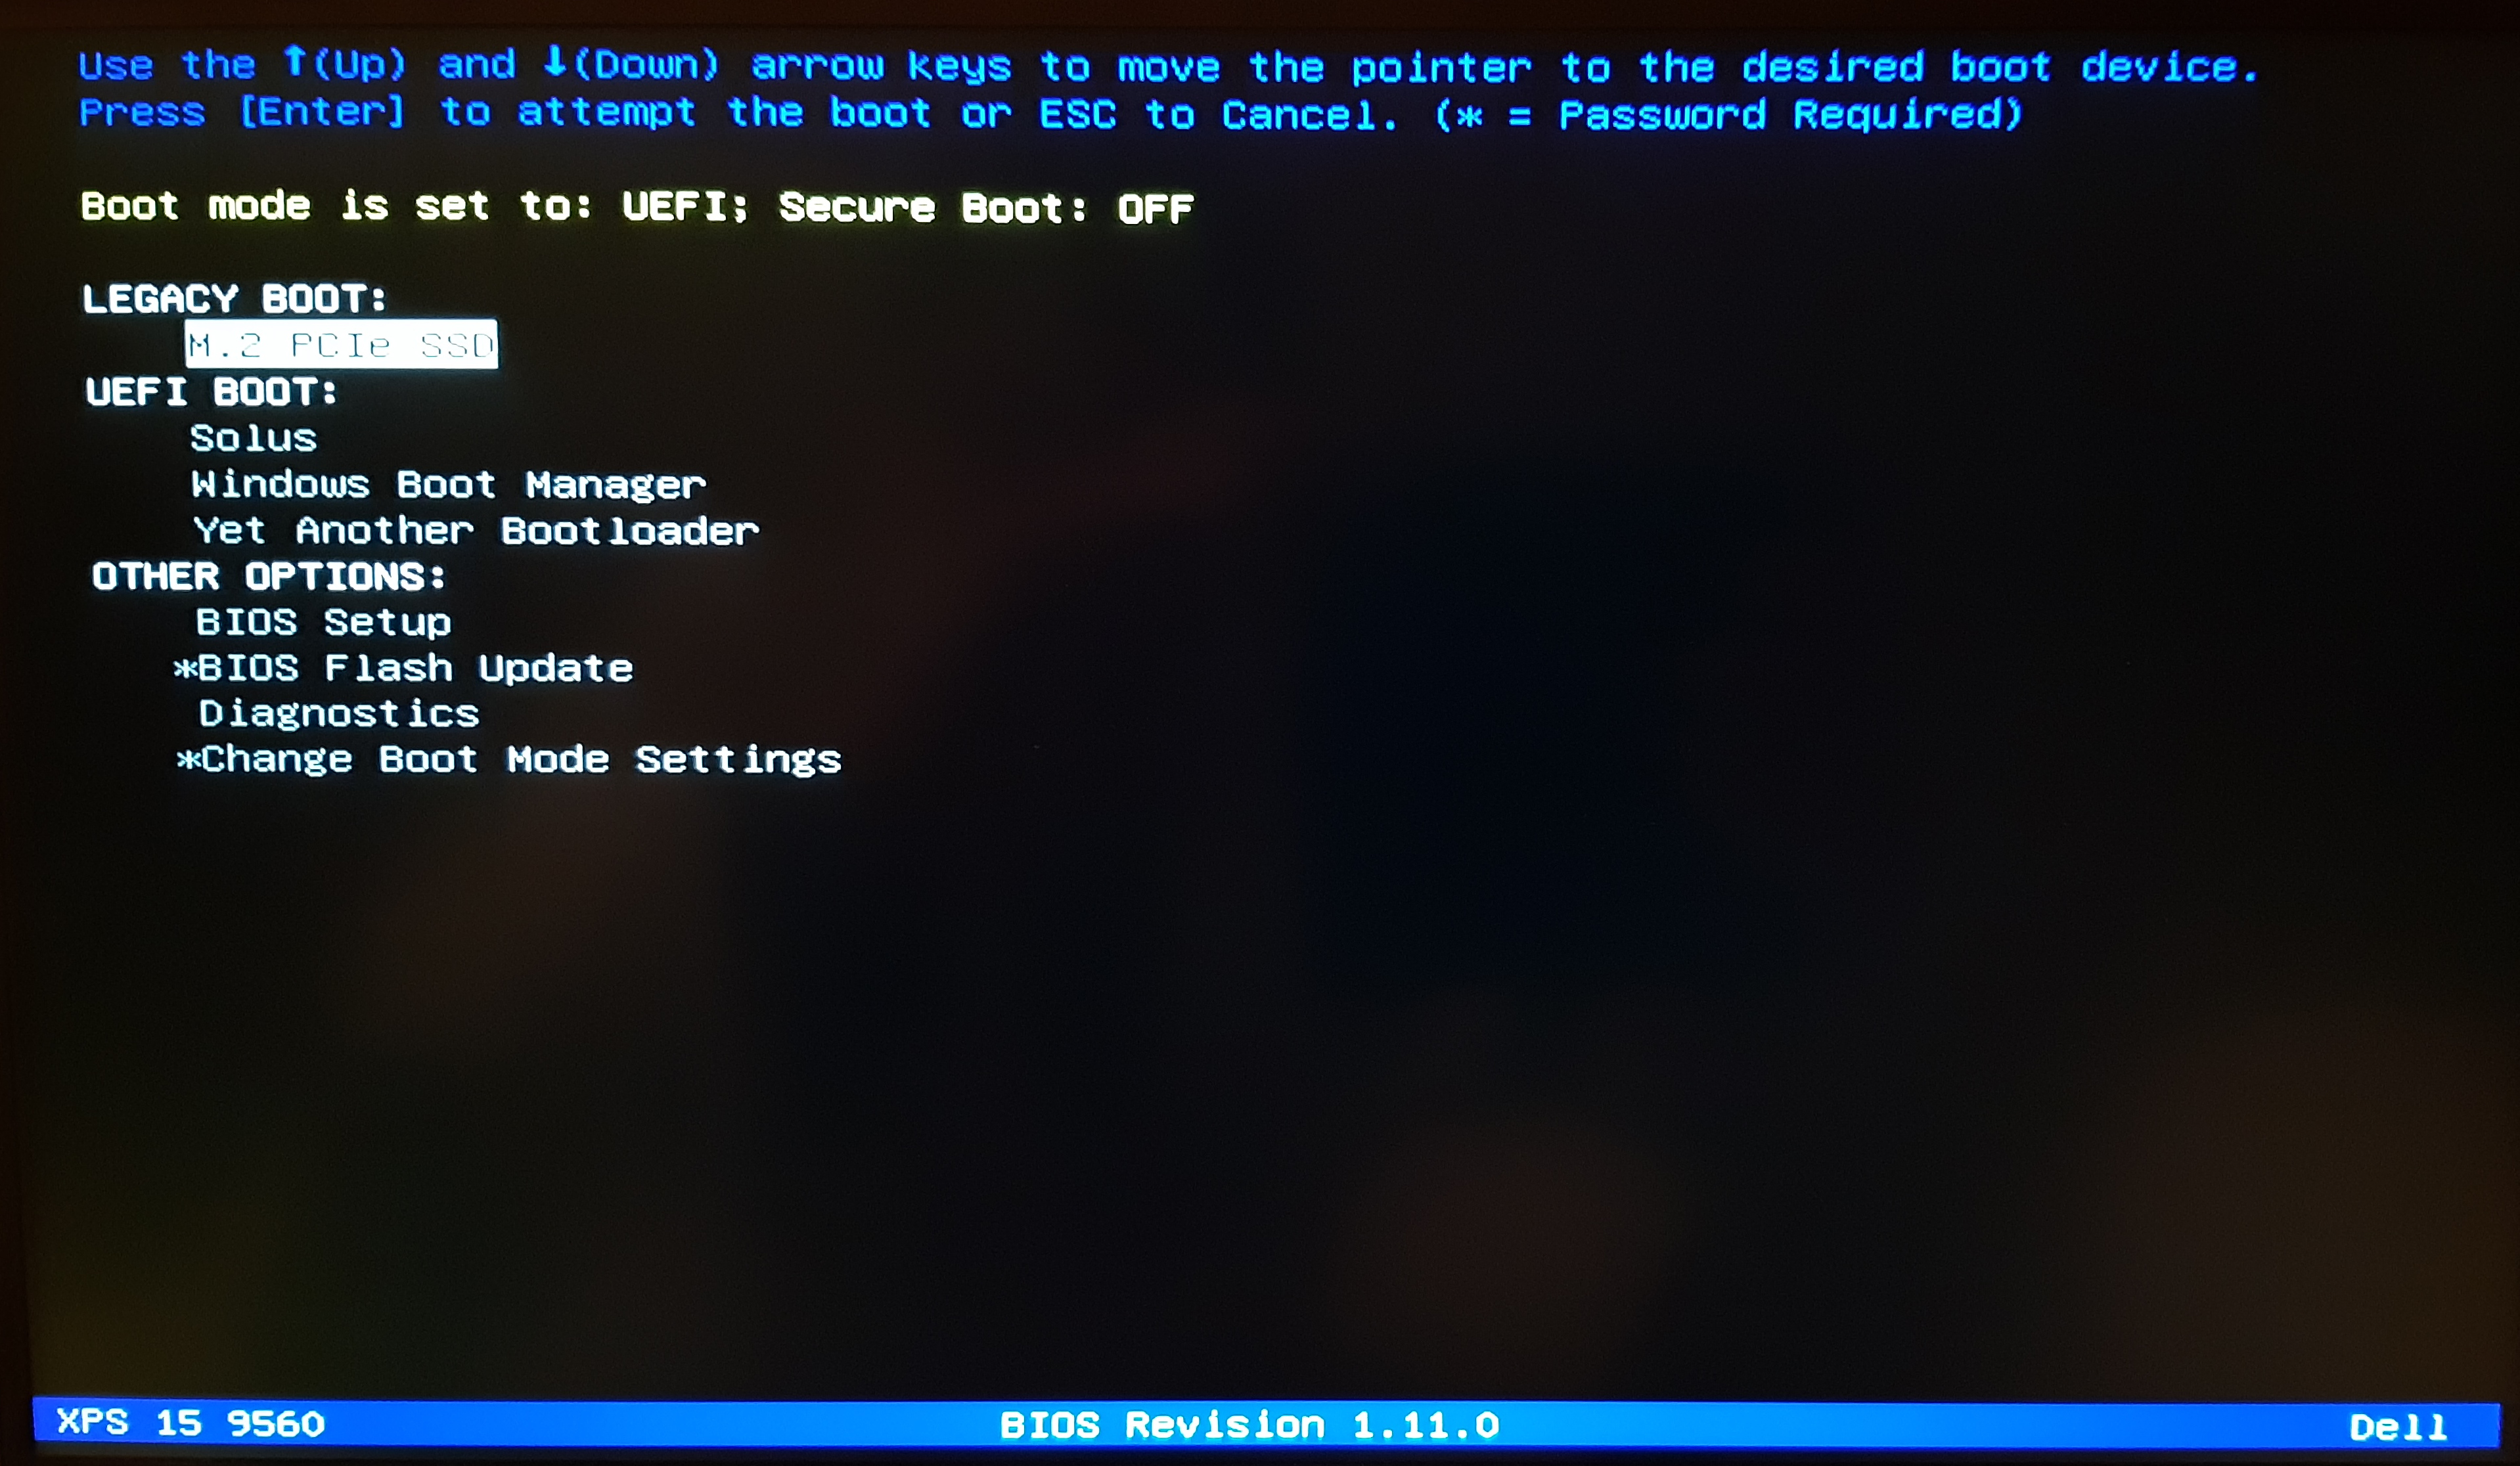
- Before installation, note down the boot options you see in your BIOS.
Install first OS (Plasma)
- Install Plasma in dev/sda1p4
- When asking for the bootloader, the dev/sda1p2 bootloader should be auto-selected
Note that if dev/sda1p1 also had the boot/esp flags, we could only select this one and not dev/sda1p2
- After installation, download efibootmgr from software center
- Run
efibootmgr to see a lit of boot options with boot ids (Boot000x)
- Remove all new boot options with
sudo efibootmgr -b 000x -B
- Create a custom boot option with
sudo efibootmgr -c -d /dev/sda1 -p 2 -l "\EFI\systemd\systemd-bootx64.efi" -L "BootSolusPlasma"
Note that you need to specify the partition BootSolusPlasma (dev/sda1p2) here as well and note that the partition is mentioned with the -p option separate from the disk name.
- Verify BootSolusPlasma exists as an option in your BIOS and it actually starts Solus Plasma
Change partition flags and install the second OS (Budgie)
- Open the partition editor and only now add the boot/esp flags to the dev/sda1p1 partition.
- Follow the installation part again, but now for Budgie and its assigned partitions.
If you created a separate-shared home partition
- Install all applications you want in both installations
- Make home partition writable by all with
sudo chmod 777 <partitionpatch>
This is not recommended in general, as EVERYONE has write/execute access!
- Create symlinks to the home partition from both installs to synchronize data (photos/videos, application configs, installed games (did not test yet), etc.
if you started with an empty partition, first copy the contents of one of the installs home folder to it and then create the sympinks.